Vinyl: Is It Really a Good Material for Fences?


Before we begin on the topic, let’s make it clear that whether a fencing material is actually good or not, largely depends on what purpose it serves. This is why chain-link fences are excellent options when protection or physical security against potential intruders is a primary concern, but they are not going to be the best for obvious reasons, if you have privacy concerns. Keeping that in mind, let’s now discuss vinyl and what purposes it’s good for as a fencing material.

Vinyl is It Really a Good Material for Fences

The Short Answer

Even with the point about specific use purposes in mind, vinyl cannot be considered as anything but one of the most all rounded fencing materials available for most people out there. So, the short answer is yes, vinyl is a great fencing material in general, and especially for private residences.

The Long Answer

The claim for vinyl being one of the best, if not the best fencing material available today is often made by companies that deal in vinyl fencing exclusively. However, that claim isn’t totally unfounded, because it just has too many advantages over almost every other fencing material we generally use. To shed more light on the kind of advantages we are discussing here, let’s get into the details.

Moderate Protection

The physical protection which a vinyl fence can offer is somewhat limited, as compared to its metallic and hardwood counterparts such as steel and cedar. In spite of that, high quality, thick vinyl fencing can also provide significant physical protection against potential break-in attempts. It may not be industrial grade protection, but as far as home invasion is concerned, thick vinyl fences can provide dependable protection.

Privacy

Make your vinyl fencing high enough and no one will ever be able to peek in while passing by. There are no gaps (unless you want gaps) in vinyl fencing, so privacy is guaranteed.

Design

While it used to be boringly white at one point in time, that is no longer a limitation. Pay a visit to Northlandfence.com if you want to choose from vinyl fencing options that come in a wide range of colors, designs and patterns. They even offer a non-prorated lifetime warranty on all their vinyl fencing products and installations.

Lifetime Investment?

Unlike any other material used for building fences, vinyl does not or rather cannot rot or rust. This technically makes vinyl fences a lifetime investment. This means that come rain, snow, ice or sunshine, your vinyl fences will remain unaffected by the weather for decades.

Zero Maintenance

Unless there’s intentional, natural or accidental trauma, vinyl also doesn’t get chipped, and it won’t peel away or develop cracks under normal circumstances. The color may or may not fade after a long time though, depending on the quality of the material itself.

It’s not just one aspect of the material that makes vinyl perfect, but it’s the combination of it all. If you take the time to do some of your own research, there is no other fencing material in the market that can cover so many fronts, especially at that price point.


How to revamp your backyard

2662428584_45604d474b_o


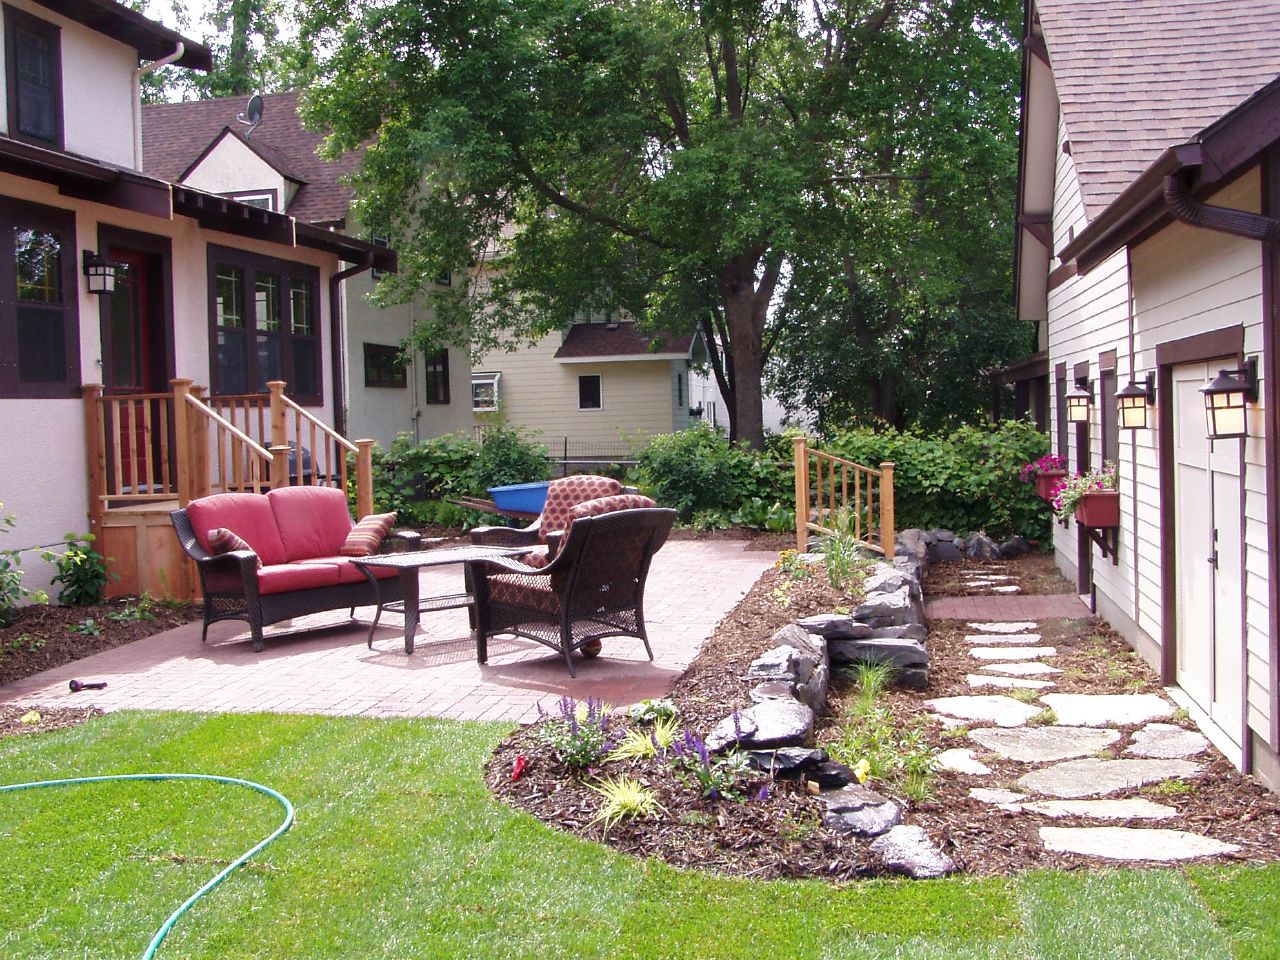
Your backyard should be an oasis for you.  It’s your private green pasture that you can mold as you see fit, without changing the curb appeal of the front of your home.  Unfortunately, this freedom leaves people frozen in indecision with what to do with it.  This need is reasonable, all that most people need is a push in the right direction.

Here are some tips to give your yard the life and beauty you’ll want everyone to see.

First, Plantlife

The state of your greenery is paramount to your backyard.  You need to ensure that you’re building up from a good base so that you don’t have to try and put in flower beds around furniture.

Consider the flow of your yard

Mow all of your grass to start, make sure you weed and rake if there are stray leaves.  From there, decide what portions of your yard will go mostly unused.  The best places for flower beds are close to the home, no more than three feet out.  With a more substantial yard, you could get more creative, heavily consider what space you have to work.

Go for flowers that are local to your area, and avoid any plant life that might cause allergy issues for anyone in the home.

Shade

If you live in a warmer climate, you understand the need for shade.  In summer, standing in the shadow could mean it feels ten to fifteen degrees cooler.  This effect is due to a lack of solar radiation that you would usually feel in full sunlight.

Look at what kind of shaded structure would work best for you.  Smaller yards may need a sun umbrella or two, but with larger yards, you can put in a structure like a gazebo or build out a structure with a permanent roof.

Furniture

Again, this option has to do with how much space you have.  Define areas with lawn furniture.  You can even put in a patio for lounging, and layer it so that a lower section is for grilling and enjoying drinks.

Go for a furniture style that compliments the rest of your home, while also keeping budget in mind.  It’s easy to spend a lot when it comes to these, so keep an eye out for a Home Depot coupon code or other things that can help you save some cash.

Water Features

Putting in water features can be the most exciting part.  It can be anything, from a coy pond to a Jacuzzi: but keep a budget and a vision in mind.

Moving water is for the best if you’re in a humid area since it’ll stop mosquitoes from breeding, and consider what kind of enjoyment you’d like to get out of it.  If you want to swim, and you have space, plot out a pool!  If pool upkeep is a nightmare for you, consider putting in a waterfall fountain, or something else that fits your style.


The most important thing about a backyard is that it matches your style.  So take your time, think deeply about that, and you’ll have no trouble creating a backyard perfect for you!


DIY Projects You Don’t Need a Pro For

8216770915_d99f7effce_b

If you’re itching to fix up your home, but don’t have the cash to pay a professional to do the work for you, fortunately, there are many projects homeowners can do themselves to improve their home’s value, look, and functionality. Don’t be afraid to get creative and get your hands dirty – these DIY projects really don’t need a pro, just a little time and effort.

Backsplash

Professionals typically charge around $60 per hour for labor costs to install a new backsplash. Although they make look very difficult to install, any homeowner can do it themselves with a little research and a few tutorial videos. The only tools and materials you need are a level, tile cutter, spacers, adhesive, grout, and of course, the tile. Intricate tiling or mosaics come with a mesh backing for easy installation, so don’t let the beautiful detailing scare you.

Outdoor Fire Pit

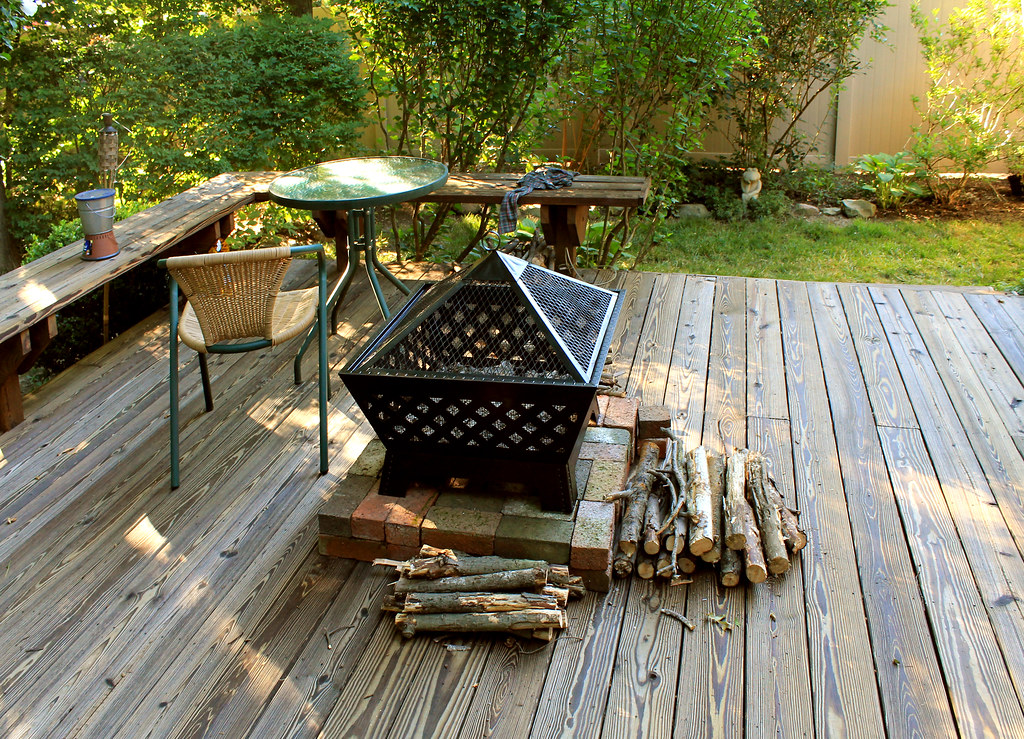
 If you own Raleigh real estate, you might want to enjoy some evenings outdoors in the warm summer season. An outdoor fire pit is one of the easiest projects to do yourself and a fairly inexpensive way to add a spot for outdoor entertainment.

You can purchase cement pavers from any major home improvement store, such as Home Depot or Lowes. Before you buy spend some time thinking about how large and how tall you want your fire pit to be. You might even try playing around with them at the store to get a better idea of how it might look. Once you’re home, you can wrap them around an old barbeque ring or place them freestanding. Small square pavers can be used for the bottom or flooring of the pit or you can use gravel or rock. Sand, cement, or mortar can help to fill in any gaps.

Refinish Wood Floors

If you have nice wood floors under those dirty carpets, it’s time to rip those old carpets out and refinish the beautiful wood underneath. While carpeting is preferred by most homeowners in the bedrooms, the look of wood floors in common areas is a popular trend. It’s rather simple to refinish them, too. Start by renting a walk-behind sander from your hardware or home improvement store – the type of sandpaper depends on the finish you currently have. Thick finishes or painted floors initially require coarse sandpaper. Every floor should be followed with a medium and fine paper to achieve a smooth finish; be sure to thoroughly clean up the dust with a vacuum and tack cloth. Next, choose between three finishes: polyurethane, varnish, or a penetrating sealer. Each has its own distinct look and various durability. Follow the instructions closely on the finish you choose.


DIY – How to Properly Treat and Maintain your Wood Deck

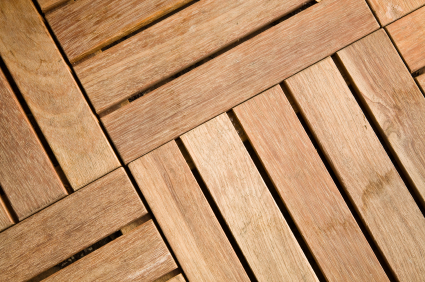
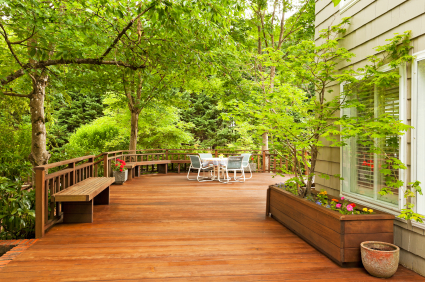
Old and new decks require a certain amount of maintenance to ensure they hold up to weather abuse, such as rain, snow and direct sunlight. While sun damage produces a dry, weathered look, constant foot traffic also ages a deck’s appearance over time. Rain, dew and sprinklers cause water damage that leads to mold, mildew and rot. Spilled drinks, food and old leaves stain the wood and alter its appearance. With proper treatment and regular maintenance, you can make sure your deck looks good no matter what you or the weather throws at it.

iStock_000006234131_ExtraSmall

Testing New Decks Before Applying Finish
Before you apply finish to your new deck, test it with a few water drops. If the wood absorbs the water within a few seconds, it’s ready for finish. If you’re unsure whether or not to apply finish, check the finish’s moisture content requirement, and use an electronic moisture meter to test the wood’s moisture level. Protect pressure-treated wood with finish as soon as it dries to prevent sun and water damage and to maintain the deck’s new appearance. While pressure-treated wood holds up well to rot and insect damage, it does deteriorate over time without a weather-resistant finish.

Caring for Your Deck
Before you apply any finish, remove furniture, plants and other items from the area. If you can’t move certain deck or ground plants, soak them with water for protection against chemical deck cleaners. After cleaning and sanding, apply the finish out of direct sunlight, as the steady heat may cause uneven application and streaking.

1. Clean the deck.
After you move the furniture and plants, prep the deck for cleaning. Sweep the entire surface, making sure to clean any debris that’s caught between the deck boards. Avoid using bleach alone to clean the deck since it only removes mold and mildew stains without treating the wood’s deep fibers. Apply a regular deck cleaner to the surface, and rinse it clean with a hose. Pressure-wash the deck if it still looks dirty after using the cleaner. Wait two or three days for the deck to dry completely.

2. Sand and repair the deck.
Once the deck dries, sand down any weathered, raised or splintered areas, making sure to sand away any leftover stains or burn marks that can show through the finish. If the faucet near the deck leaks or the sprinkler heads need relocating, make the necessary repairs and adjustments. Perform one final sweep of the deck before moving on to the last step.
3. Finish the deck.
With the cleaning and sanding out of the way, make sure you apply the finish on a cloudy day or when the deck is out of direct sunlight. Make sure the deck doesn’t feel hot to the touch, as a hot deck could lead to failure of the finish. If the surface temperature exceeds 75 degrees, wait until it cools. Afterward, apply the finish according to the manufacturer’s directions. Wait until it dries before placing your items back on the deck.

iStock_000020127587_ExtraSmall

Maintaining the New Finish
Depending on exposure levels, expect to refinish the deck every six months or so. Under normal conditions, the finish should hold up for a year or two if the deck was already in good condition. Some signs that it’s time to refinish your deck include:

The deck coloring turns gray.
The boards look weathered.
Stains set deep within the wood’s fibers.
Splinters and raised bumps form over the surface.

Even if you maintain your deck every day, you have to watch out for insect infestations, such as termites and carpenter bees. These insects burrow into the wood and leave piles of sawdust around the deck railings. Make sure to monitor for insects and take preventative measures to ensure your finished deck not only withstands the onslaught of sun and rain but also common wood-boring pests.

The Average Cost of Composite Decking

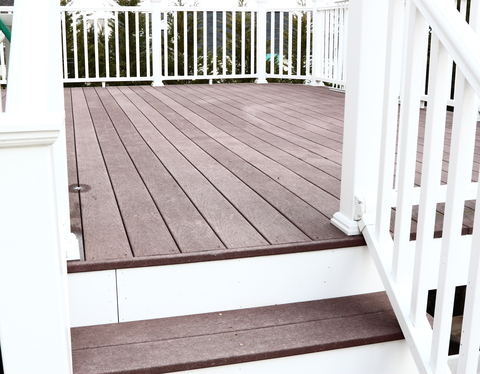
Adding a new deck to your home increases the value of the property, boosts its aesthetic appeal and expands your family’s living spaces. Composite decking is a durable and environmentally friendly option that provides a good return on your home improvement investment.

dreamstime_xs_18303484

Cost of Composite Decking

Decking costs vary by region, material type and the complexity of your deck design. For example, if you plan to incorporate railings, benches, a spa enclosure or a pergola in your new deck, your cost will be higher than average. Currently, the average price for basic composite decking material ranges between $6 and $8 per square foot(1).

Various manufacturers price their composite decking differently. Less costly materials are hollow-core or cellular in construction while higher-end materials are solid throughout. Some manufacturers make their boards wider for added stiffness and stability, which raises the cost. Several companies produce more than one product line, each priced differently.

Comparing Decking Materials

EPA’s Decking Alternatives Cost Calculator provides a reasonable cost comparison of various decking materials. The following totals reflect the average price for a completed 20 x 30 foot deck as of 2006:

• $4,029: pressure treated pine
• $5,121: recycled plastic/wood composite
• $5,745: cedar/redwood

The Average 10-Year Cost of Composite Decking

According to EPA, the 10-year cost of a composite deck is nearly the same as its initial cost because maintenance is minimal. In contrast, the 10-year cost of a redwood deck is almost double its original price due to high maintenance. Similarly, the 10-year price of a pine deck is $9,921 compared to its original price tag of $4,029.

Therefore, when you cost out your decking options over the longer term, you see the advantage of putting a bit more money into low maintenance composite materials. Additionally, your composite deck lasts longer — up to 50 years. In comparison, well-maintained wood decks average only about 20 years before they need to be replaced.

Factors That Raise the Price of Your Composite Deck

Besides the size of your deck, the shape, elevation and the number of built-in features affect the cost. If you plan to take the best advantage of standard lengths of composite lumber, your cost per square foot will be less than if your design calls for dimensions that produce more waste. Lengths may vary according to the product you plan to use, but in general, 8′, 10’, 12’ and 16’ are the standard lengths for decking lumber.

If your design calls for curves or cutouts, additional installation costs will add to the ultimate price. However, since your composite deck is likely to outlast your tenure in your home, you may believe it worthwhile to pay for custom work that adds to its beauty.

Also, if your deck is elevated above the ground or built on terraced levels, your financial outlay will be higher than the cost of a deck on level ground. If your property requires excavation to accommodate a deck, be sure to include that expense in your calculations.

Railings, steps, planters, benches, trellises, gazebos, hot tub platforms and other custom add-ons further raise your initial deck cost. You may choose to include some essential features, such as steps, during construction but to add others, like benches, later as your budget allows.

iStock_000002566116_ExtraSmall

Additional Benefits of Composite Decking

Wood and plastic composite lumber provides a number of benefits over natural wood products. Composites are:

• Non-toxic
• Guaranteed not to rot, crack or splinter
• Stain resistant
• Resistant to salt water and fresh water damage
• Permanently stained and sealed
• Mildew and mold resistant
• Insect proof
• Resistant to ultraviolet rays
• Washable and impervious to chemical damage

In addition, composite decking is environmentally friendly. It is made from recycled wood, so it does not impact living forests. It contains waste plastic that would otherwise end up in landfills. Most composites contain no chemicals that could affect rainwater runoff.

Some homeowners prefer the look and feel of wood decking to composite materials. However, manufactures are currently producing more natural-looking composites in more color than ever. Given the low maintenance and longevity of composite materials, they represent a wise home improvement investment.

Comparing Some of the Most Common Decking Materials; Pros, Cons and Average Price

A handful of our readers have been writing in asking about some previous decking posts we have on the site and some of the questions we are seeing are related to comparing pros, cons and average pricing of these materials. So, with the flow of questions, we figured we would try to provide some answers, via a post, of course! 🙂

iStock_000002566116_ExtraSmall

Composite Decking Pros / Cons / Cost
Composite decking materials are decking materials made of a composite of wood and a variety of other products. They began to come into popularity in the 1990s, after some of the major defects of the composite materials had been worked out. The idea of using composites was to be able to retain the appearance of wood, without some of its less desirable properties. Composite decking materials require much less maintenance than pressure treated wood. The big advantage over wood is that they do not have to be regularly refinished or stained every few years. Composites eventually will show some deterioration due to rot, because they are, in part, wood. Another problem which may plague composite materials is that they are subject to mildew and mold, which is a concern particularly in wet or damp climates. Generally composite materials run about $2.50 per linear foot, about 2 ½ times the cost of pressure treated lumber. In order to assess the advantages and disadvantages of composite decking, you need to be informed of your alternatives.

Pressure Treated (Pine) Decking Pros / Cons / Cost
According to an article by Popular Mechanics, about 75% of all new decks are still made of pressure treated wood. “Pressure treated” wood is wood which has had preservatives infused into it through a variety of processes, to make it more resistant to natural deterioration, and pest infestation, and to make it fire retardant. There are about 25-30 different preservatives commonly used, and a number of processes of treating wood, but your local lumberyard or home improvement center will have a selection of the treated woods most suitable to your particular environment. Pressure treated pine is the least expensive building material, costing roughly $1.00 per linear foot. To prevent deterioration, it should be power washed annually, and retreated with preservatives or stains every two to three years.

iStock_000020127587_ExtraSmall
Natural Wood/ Select Hardwoods Decking Pros / Cons / Cost
A second wood alternative would be to build a deck with natural wood. Pine, unless pressure treated, is too vulnerable to rot and infestation to make it a good alternative. Redwood and cedar, because they contain natural oils and tannins which make them more rot and pest resistant, also have a great appeal because of their natural beauty. Tropical hardwoods, such as cumaru, Philippine mahogany, red tauri, tigerwood ipe, and others are still another alternative. These woods are extremely durable and resistant to both rot and infestation, but they are so hard that it is almost impossible to drive a nail through them without drilling a hole in them first. They are also heavy and hard to work with. All natural woods will start to discolor to the characteristic “silver” of weathered wood if not treated with a stain. Redwood and Cedar, which are cheaper near where they are harvested, can run from $1.25 to $2.00 per linear foot, but can run more, depending upon the grade. Select hardwoods such as ipe can run as much as $4.00 to $5.00 per linear foot, and often must be special ordered.

Plastic or PVC Decking Pros / Cons / Cost
Plastic can now be made to look like wood, and is basically maintenance free. The new plastics are stain and scratch resistant, and won’t rot or mildew. Appearances tend to vary by manufacturer, so you would want to get all material from the same source. To date, plastic decking materials have tended to sag over time, as opposed to the other decking materials. Plastic decking material runs about $3.00 per linear foot. Some contractors also note that plastic can be difficult to work with, which may result in additional labor costs during installation.

Aluminum Decking Pros / Cons / Cost
Aluminum is the ultimate decking material if you are talking either durability or maintenance. Aluminum is impervious to rot, mildew, cracking, or warping. It will not catch on fire, and pest infestation is not a problem. It is lighter and stronger than most other materials and can be cut with regular carbide-tipped saws. The major drawback for aluminum decks is the cost. At roughly $9.00 per linear foot, it costs nine times as much as a pressure treated lumber deck.

Conclusion
Of the three lower cost alternatives, composite decking will probably continue to gain in popularity as technology produces even better composites. Pressure treated wood, although considerably less expensive initially, should be considered to be of roughly comparable cost, when maintenance and upkeep costs are factored in. If you are someone who will do your own maintenance, these costs can be reduced, but if you hire someone to wash and stain your deck at regular intervals, the maintenance costs of the pressure treated lumber will soon exceed that of the composite deck. Plastic, appears to have little advantage over composite until the problem of sagging is adequately addressed.

Three Unique Deck Design Ideas – Wraparound, Tiered and Island

Building a unique and functional deck gives you the opportunity to neatly link together your home and the surrounding landscape. While many homeowners prefer the standard wooden deck that has been built for decades, utilizing unusual and unexpected design elements can really enhance the appearance and functionality of your outdoor space. It may be helpful to employ and collaborate with an architect or professional landscape team, but also consider these three unique deck designs in your home project.

The Wraparound Deck
The traditional outdoor deck sits on a slab behind the house, generally just off a sliding glass door leading into the backyard. Rather than follow this typical deck arrangement, consider building a raised wraparound deck.

iStock_000020127587_ExtraSmall

Begin the construction behind the house, as usual, but raise the deck off the ground to fit under the upper windows of the home. The backyard deck area will still be functional for social gatherings and barbecues. Next, extend the deck around the sides of the home, wrapping the structure around the corners until the deck meets the front door. Here is where the deck will end. Try building a pergola around the front door to visually link the two arms of the deck and complete the home’s transformation.

This structure will work especially well on a two-story or raised ranch home, but other houses may fit the template as well. The wraparound deck can be painted or stained in a variety of colors to complement an existing home’s exterior. With careful construction, this budget-friendly home improvement project can completely transform the outer appearance of a house while creating additional living space around the home.

The Tiered Deck
Ideal for small spaces or small backyards, the tiered deck design can make the most out of less area. Strive for thoughtful design by beginning with a plan to create multiple areas on your new deck. For example, a tiered deck can be divided easily into separate spaces for eating, conversing, and generally relaxing.

Begin with a low layer for an arrangement of comfortable lawn furniture. This can be an area for friendly conversation and relaxation. Add a second flooring layer on top of this one, approximately eight inches higher and staggered to one side, and you have created another location for a small outdoor table. Attach a final layer on the very top, and you can have your own private space for a hot tub or other relaxing feature. Each layer does not have to cover a lot of area, but the effect creates an interesting and unusual outdoor living space.

This layered design can completely transform a sloped backyard. Build your deck in layers as it scales up your backyard, creating a new locale in each step. Add a creative touch to each tier by making the edges curved rather than traditionally boxy. The curved lines will add visual interest while maximizing the available space.

The Island Deck
Consider the island deck, a backyard structure completely unattached to your home. Unlike the traditional idea of a backyard deck, the island is typically created as an entertainment oasis in your outdoor space. These decks frequently include a special feature, such as a hot tub, small pool, or umbrella lawn table.

When constructing your island deck, think of it as an independent outdoor space far from the comforts of your home. In this instance, consider creating built-in benches and hidden storage to contain all your deck necessities. Construct moveable floorboards that can be lifted to reveal under-deck storage. You can store hot tub equipment, extra snack bowls, or outdoor lighting in these convenient panels.

This type of deck is most effective in larger backyards that have the open area available to host an independent island. Keep this in mind as you consider your own backyard. If you have a small to moderately sized yard, it may be in your best interest to fully utilize your green space and construct a more attached piece.