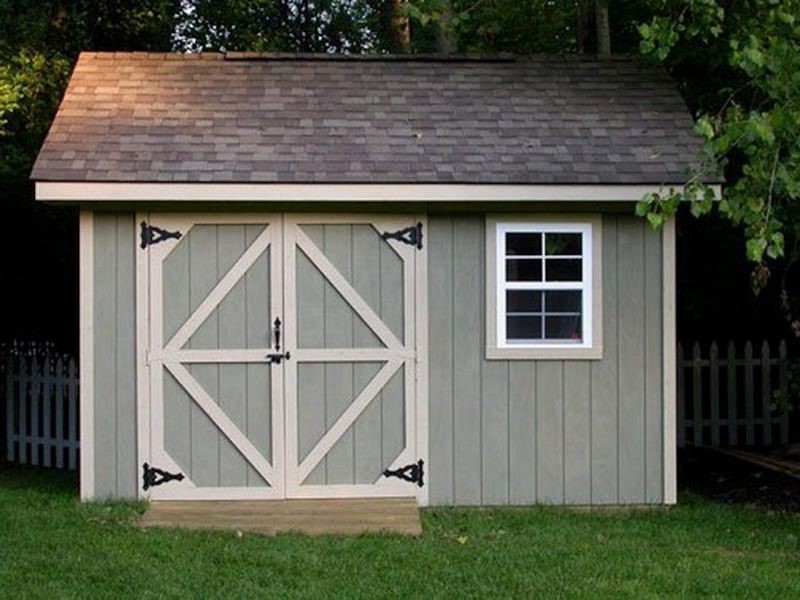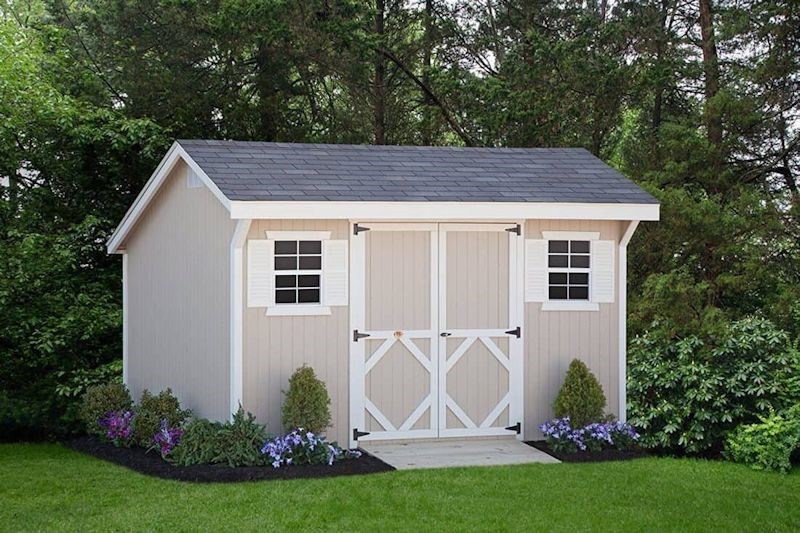
Just like the shingles on your home, those on a typical 10×20 garden shed roof have are prong to get damaged over time. The constant exposure to the sun, rain, snow, and wind eventually wear down your roof shingles. Even though shingles are being designed to last longer these days, the best ones will cost you more money. While a 50-year shingle might be a good investment on your house, you most likely will use a much shorter life shingle on your garden shed and therefore you will need to fix or replace them more often. The good news is that most shed roofs are as easy fix and you can do it all by yourself. The following tips will help you fix your garden shed roof when the time comes.
Ladders
Most sheds are not built as high as your home’s roof, so a standard 10’ ladder should do the trick for a garden shed roof.
Get your ladder situated in the proper position and on ground that is flat and level, and make sure that it’s at the right angle. Experts recommend a 1:4 ratio; So if you have 8 feet of height your ladder should be two feet away from the shed. Simple math.
Take Out the Bad Shingles
To start, remove the bad shingles and the nails. If you are fixing the whole roof, begin on the uppermost area and remove the top row, before moving down to the next row, until you get to the last row. If you find a metal drip edge, you can leave that where it is. So now that everything else is gone, you should be looking at a blank sheet of plywood. If the plywood is rotted, this is the time to replace that too. There is no sense putting a new roof on bad wood sheeting.
Roof Felt
Start placing your roofing felt on the bottom corner and move sideways, making sure to keep the felt flush. Sink in a nail every few feet. Working your way up, continue to secure the felt with nails. You don’t have to go crazy hammering in nails, as it will also be kept down by the shingle nails; you just want to ensure that it lies flat and stays in place as you work your way to the top edge.
The next roll of felt will be done the same way. Overlap the second roll of felt onto the first length of felt by a couple of inches. Again, work your way from the bottom to the top. Continue working left to right until you are done.

Starter Shingles
Starter shingles are the first row of shingles that you lay. Then you lay a second layer over the starters. To install starter shingles, remove any tabs from your sheet of shingles and place them so that it overhangs on the edge by about ¼ an inch.
Shingling the Rest of Your Roof
Now that the starter shingles are in place, you can lay your 3-tab shingle on the left bottom corner of the roof. Ensure that it is covering your starters and nail it so that it is in place. You will probably need about four nails for every shingle. Work left to right, one layer at a time. The second layer should start with about a six-inch overlap on the shingle underneath it and approximately five inches off the edge. Remember you are creating a staggered, layered, and neat shingle roof. Make sure that it is all neat so that water won’t get to the wood sheeting. Continue layering, staggering, and nailing until you get to the top. Once you are done, cut off the excess overhang on each side.
A small garden shed roof can easily be completed in a day. Take your time and make sure everything is lined up correctly. The end results will be a new roof on your garden shed that you can take pride in; you did it yourself!
Do you have an even bigger shed job? Like a shed that is so in disrepair that it’s better to build a new shed? No worries there either. Building an entire shed is just as easy as fixing the roof these days. All you need is a 3D shed building guide: “How to build a shed in a week or less?” From 3DSHEDPLANS.COM. You will be amazed at how easy it is to start your project.
Tags:
